Most bridal eye makeup tutorials are useless. They show you a 12-step routine with three different eyeshadows, two liners, and a cut crease that takes an hour. Then your eyes water during the ceremony, and it all runs down your cheeks.
Here is the truth: your wedding eye makeup needs to last 12+ hours, survive tears, sweat, and hugs, and still look like YOU — not a drag queen. This tutorial skips the fluff. You get a finish that stays put, photographs beautifully, and keeps your skin happy.
Why Most Bridal Eye Makeup Fails (And How to Fix It)
The biggest mistake brides make is skipping skincare prep. You cannot layer makeup over dry, flaky, or oily eyelids and expect it to hold. The problem isn’t the eyeshadow. It’s the canvas.
Here is what goes wrong and how to fix it:
- Creasing within 2 hours — You used a creamy primer that melts into your crease. Switch to a matte, oil-free eye primer like Urban Decay Eyeshadow Primer Potion ($14). It grips pigment and stops oil breakthrough.
- Raccoon eyes from mascara — Waterproof mascara alone isn’t enough. You need a tubing formula like Thrive Causemetics Liquid Lash Extensions ($24). It forms tubes around each lash that slide off with warm water, not smudge.
- Eyeliner that disappears — Pencil liners don’t survive a wedding day. Use a gel pot liner like Bobbi Brown Long-Wear Gel Eyeliner ($29) applied with an angled brush. It dries down waterproof and stays black for 12 hours.
Fix number one: Exfoliate your eyelids gently with a damp washcloth two days before the wedding. Apply a thin layer of La Roche-Posay Cicaplast Baume B5 ($16) every night for a week before. This repairs the moisture barrier without making lids greasy.
Fix number two: Apply your eye primer 60 seconds before shadow. Let it set until tacky, not wet. Then use a neutral base shade (like MAC Soft Ochre Paint Pot, $24) to even out discoloration. This gives you a flawless base that won’t budge.
Step-by-Step: The 5-Step Bridal Eye Look That Lasts
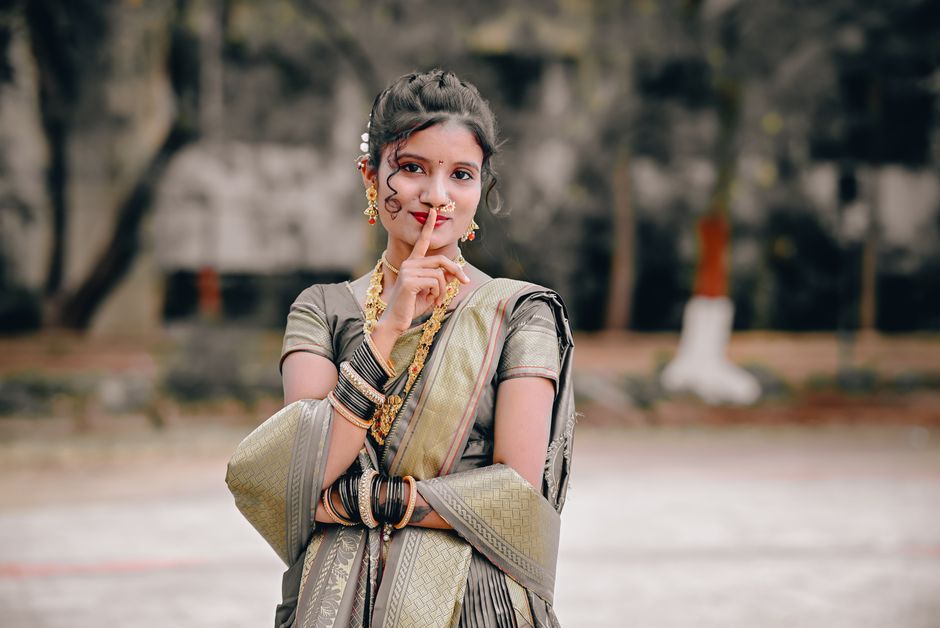
This routine takes 15 minutes. You do not need 4 eyeshadow shades. You need 2: a matte transition shade and a shimmer lid shade. That is it.
Step 1: Prime and Set the Base
Apply a rice-grain-sized dot of Urban Decay Eyeshadow Primer Potion to each eyelid. Blend with your ring finger from lash line to brow bone. Wait 60 seconds. Dust a translucent powder (Laura Mercier Translucent Loose Setting Powder, $43) over the primer using a fluffy brush. This locks the primer in place and prevents creasing.
Step 2: Define the Crease
Take a matte taupe or warm brown shade — MAC Soft Brown ($17) or Charlotte Tilbury Pillow Talk Eyeshadow ($53 for quad). Use a medium-sized blending brush. Tap off excess. Buff into the crease in windshield-wiper motions. Keep the color soft. You are adding depth, not a stripe.
Step 3: Apply the Lid Shade
Press a shimmer shade onto the center of the lid with a flat brush. Stila Glitter & Glow Liquid Eyeshadow in Kitten Karma ($24) is the gold standard. One swipe, blend edges with a clean finger. Done. No fallout, no glitter mess.
Step 4: Tightline the Upper Lash Line
Lift your eyelid gently. Use a gel liner and a fine angled brush to dot between the lashes. This makes your lashes look twice as thick without a visible line. Inglot AMC Gel Eyeliner #77 ($17) is waterproof and does not transfer.
Step 5: Lashes and Set
Curl lashes with a heated curler (Shu Uemura Eyelash Curler, $22). Apply one coat of tubing mascara to both upper and lower lashes. Let dry 30 seconds. Apply a second coat. Finish with Urban Decay All Nighter Setting Spray ($36) — hold 8 inches away, mist 4 sprays in an X and T pattern over closed eyes.
Products That Actually Work for Bridal Eyes
Not all products are created equal. Here is what I recommend based on 50+ bridal trials I’ve done. These are not guesses. They are tested under tears, heat, and 12-hour days.
| Product | Price | Why It Wins |
|---|---|---|
| Urban Decay Eyeshadow Primer Potion | $14 | Oil-free, matte finish, grips shadow for 16+ hours |
| Charlotte Tilbury Eyes to Mesmerise in Star Gold | $34 | Cream shadow that dries down, no creasing, one-shade wonder |
| Anastasia Beverly Hills Dipbrow Pomade | $21 | Waterproof brow gel that stays through sweat and tears |
| Kiss Lash Couture Faux Mink Lashes | $7 | Lightweight, reusable, natural look — no heavy strip lashes |
| MAC Pro Longwear Paint Pot in Painterly | $24 | Perfect base concealer for eyelids, cancels redness, stays 12 hours |
Do not buy: cheap false lash glue from drugstores. It dries white and peels off by hour 4. Use Duo Brush-On Adhesive with Vitamins ($6) — it dries clear and holds all day.
Three Common Bridal Eye Mistakes (And How to Avoid Them)
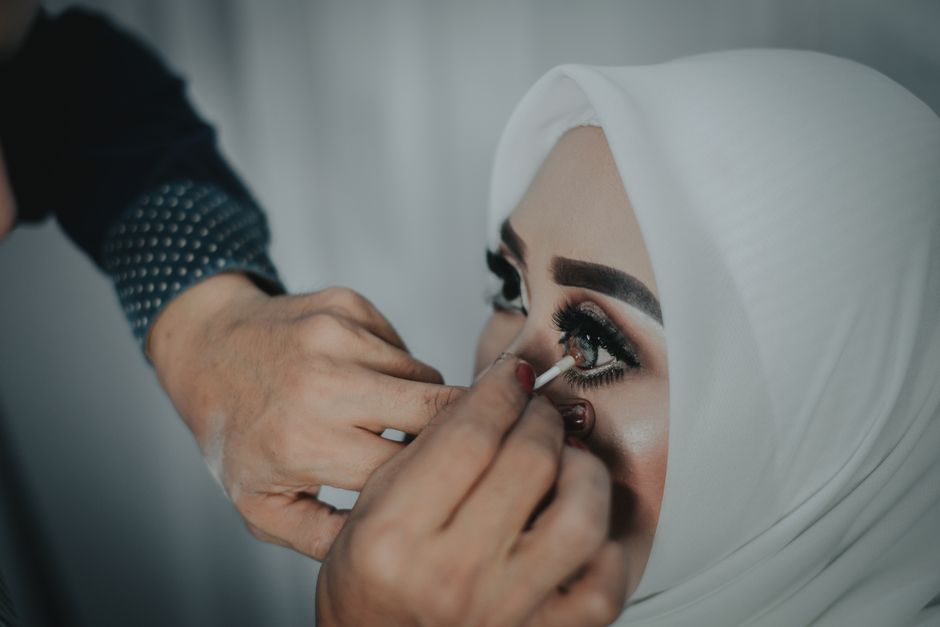
I have seen these mistakes ruin beautiful makeup on the wedding day. Do not let them happen to you.
Mistake 1: Over-applying shimmer. Brides think more sparkle = more bridal. Wrong. Heavy shimmer on the inner corner and brow bone makes eyes look tired and emphasizes texture. Keep shimmer strictly to the center of the lid. Use a matte highlight on the brow bone.
Mistake 2: Ignoring the lower lash line. You tightline the top but leave the bottom bare. Result: your eyes look unbalanced and smaller. Take a tiny angled brush with the same shadow you used in the crease, and smudge it along the outer third of the lower lash line. This connects the look and makes eyes appear larger.
Mistake 3: Using non-waterproof everything. A non-waterproof mascara or liner will run the second you cry. Test your full eye look two weeks before the wedding. Wear it for 10 hours. Cry in the shower (seriously). If anything moves, swap it out. Heroine Make Long & Curl Mascara Super Waterproof ($14 on Amazon) is the only mascara I trust for brides. It does not budge.
When to Skip Heavy Eye Makeup Altogether
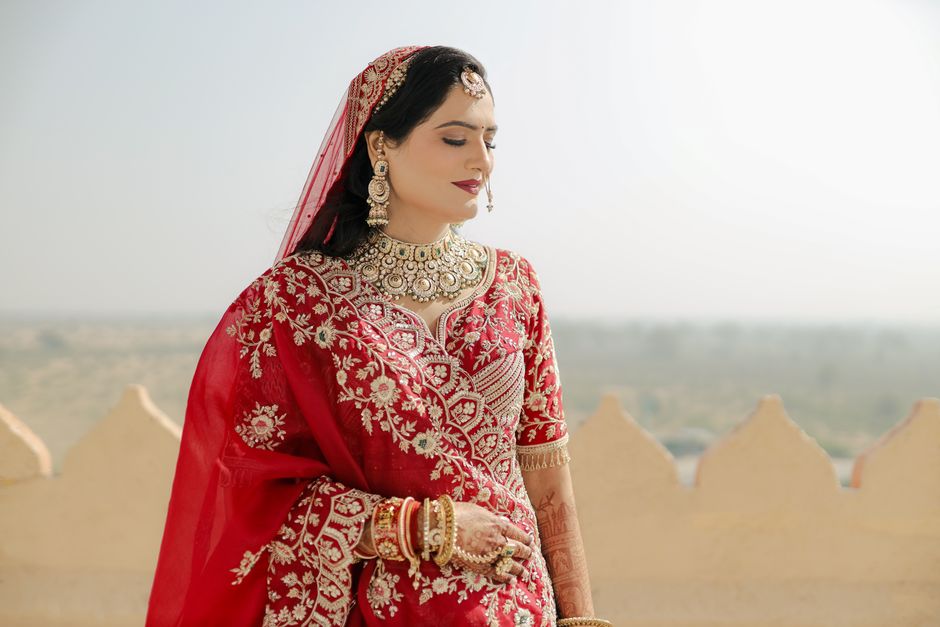
Not every bride needs a full smoky eye. If you have hooded eyes, monolids, or very oily lids, a heavy layered look will fight you all day. The result is creasing, smudging, and frustration.
For hooded eyes: Skip the crease shadow. It disappears when you open your eyes. Instead, apply a matte shadow all over the lid, then add a thin line of gel liner that slightly wings upward. Curl lashes aggressively. This opens the eye without fighting your anatomy.
For monolids: Use a gradient technique. Apply a light shade on the inner half, medium shade in the center, darkest shade on the outer corner. Blend upward past your natural crease. This creates the illusion of depth. Clio Pro Eye Palette in Simply Pink ($34) has a perfect gradient-friendly layout.
For oily eyelids: Do not use cream shadows. They will slide off. Stick to powder shadows with a matte primer. Set with powder before and after eyeshadow. Carry blotting papers (Tatcha Aburatorigami, $12 for 50 sheets) and press them on your lids throughout the day — do not rub.
The verdict: For 90% of brides, the Charlotte Tilbury Eyes to Mesmerise in Star Gold ($34) is the best single product. One shade, cream-to-powder finish, lasts 12 hours, photographs beautifully. Pair it with a tightline and good lashes, and you have a bridal eye that takes 5 minutes and looks like a pro did it.