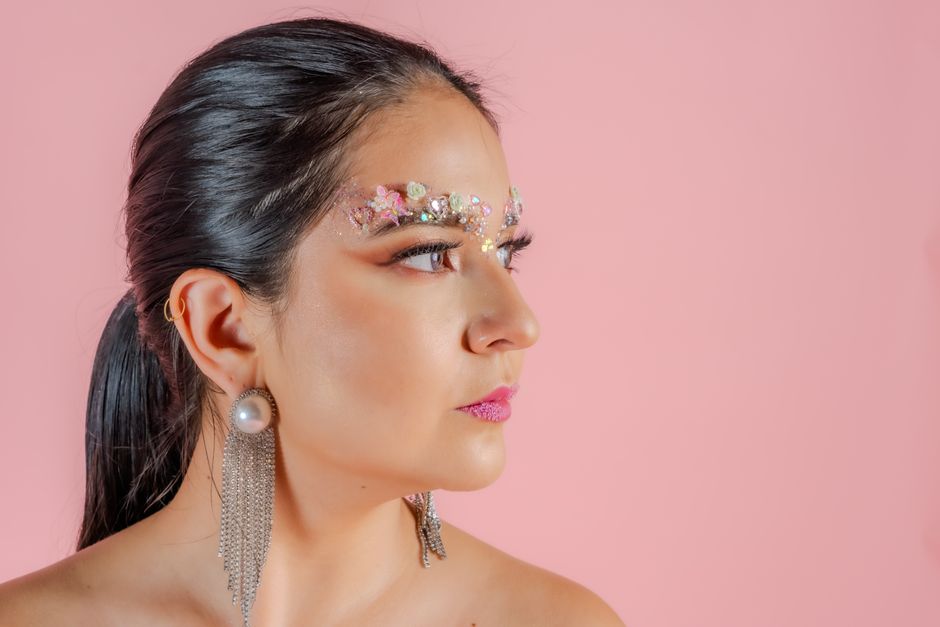
I’ve been doing my own makeup for over a decade, and the one look that always gets compliments? The classic Latina eye — smoky, lifted, and unapologetically dramatic. But here’s the thing: it’s not about piling on black eyeshadow. The real trick is structure. After testing dozens of drugstore products and techniques, I’ve nailed down a 5-step routine that stays put through humidity, tears, and a full workday. No $60 palettes required.
Step 1: Prime and Set the Brow Bone — The Non-Negotiable Base
Skip primer, and your crease will crease by noon. I learned this the hard way after a wedding where my eyeshadow migrated to my under-eyes by the second dance.
Why Primer Matters More Than Eyeshadow
Your eyelids produce oil. That oil breaks down pigment. A good primer creates a tacky surface that grips powder and stops it from sliding. I use the NYX Professional Makeup Proof It! Eyeshadow Primer ($8). It’s a matte, flesh-toned cream that dries down slightly tacky. Apply a rice-grain amount to each lid, blend with your ring finger, and let it sit for 30 seconds before powder.
Set the Brow Bone with Translucent Powder
After primer, dust a fluffy brush with e.l.f. Cosmetics Halo Glow Setting Powder ($8) and gently press it onto your brow bone and inner corner. This creates a bright, clean canvas for blending. Don’t skip this — bare primer is too sticky for seamless blending.
Verdict: Spend the extra 60 seconds on this step. It’s the difference between a look that lasts 10 hours and one that’s a mess by 2 PM.
Step 2: Sculpt the Crease with a Transition Shade — Deeper Than You Think
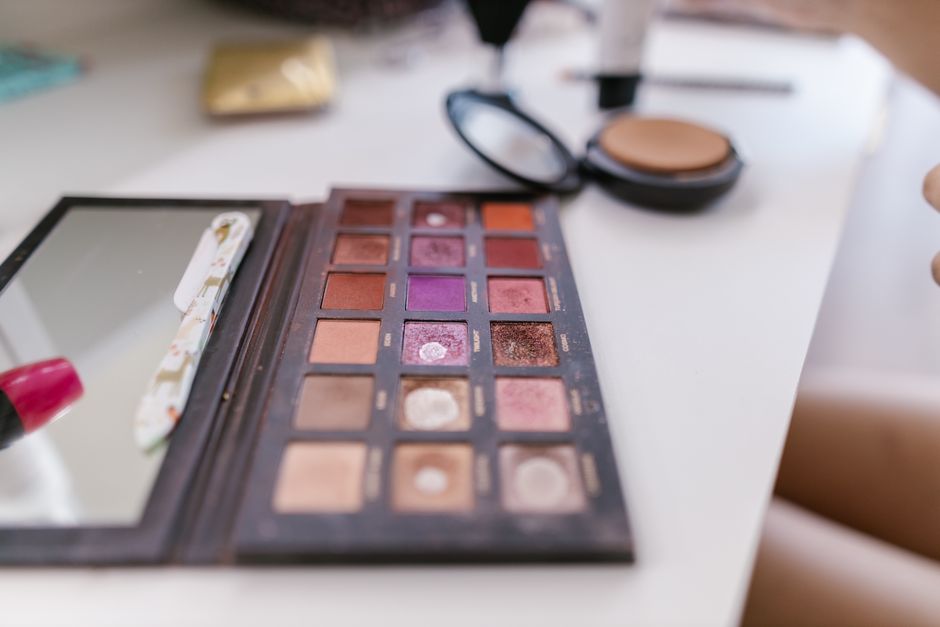
Most tutorials tell you to use a “soft brown” transition shade. For a Latina eye, that’s too light. You want a warm, medium-taupe or terracotta brown that’s one shade darker than your natural skin tone.
My Go-To Transition Shade
I reach for the single shade “Mocha” from the L’Oreal Paris Infallible 24HR Eyeshadow ($7). It’s a matte, warm brown that blends like a dream. Using a crease brush (I like the Real Techniques Shading Brush, $6), tap off excess powder, then start at the outer V and sweep into the crease in windshield-wiper motions. No circles — that muddies the color.
Common Mistake: Going Too High
Your transition shade should sit only in the crease, not above it. If you bring it up to the brow bone, you lose the lifted effect. Keep the color concentrated in the outer third and blend inward. Stop blending when the color is diffused but still visible. Over-blending is the #1 reason eyeshadows look muddy.
Step 3: Deepen the Outer V and Lower Lash Line — The Sultry Secret
This is where the look gets its drama. You need a dark, matte brown or charcoal — never pure black, which looks harsh on most skin tones.
| Product | Price | Why It Works | Best For |
|---|---|---|---|
| Maybelline New York The Nudes Eyeshadow Palette | $10 | Warm browns with good pigmentation; shade #6 (dark matte brown) is perfect for outer V | Beginners who want a curated palette |
| e.l.f. Cosmetics Mad for Matte 2 Palette | $10 | All matte, no shimmer fallout; shades “Moody” and “Chill” are ideal for deepening | Oily lids; matte-only lovers |
| Urban Decay Naked2 Basics Palette | $29 | Cool-toned browns that work for deeper skin; shade “Frisk” is a perfect outer-V dark | Cool-toned skin; higher budget |
How to Apply the Dark Shade
Use a small pencil brush (like the e.l.f. Smudge Brush, $3). Dip into the dark shade, tap off, and press it into the outer V — the area where your upper and lower lash lines meet. Then, smudge it along the outer third of your lower lash line. This connects the upper and lower eye, creating that lifted, cat-eye illusion.
When NOT to Use Black
If you have fair to medium skin, black eyeshadow can look bruise-like. Stick with dark brown or charcoal. For deeper skin tones, a matte black works, but blend it with a warm brown first to avoid a flat look.
Step 4: Line the Waterline and Tightline — The Game Changer
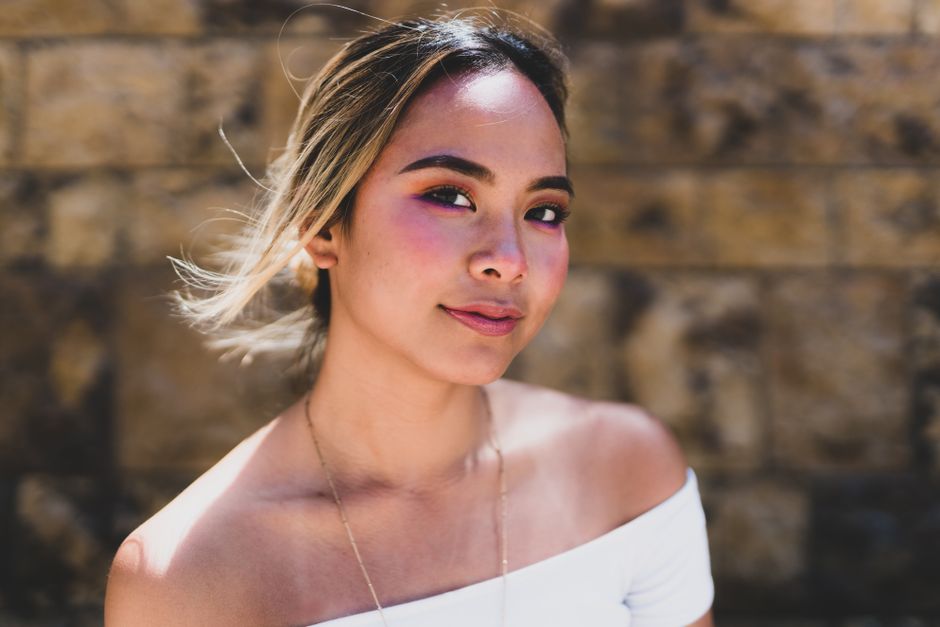
This is the step that separates a casual eye look from a Latina eye. You’re lining both the upper waterline (tightline) and the lower waterline (the wet rim).
My Favorite Pencil for the Job
The NYX Professional Makeup Epic Wear Liner Stick in “Brown Perfection” ($9). It’s waterproof, creamy, and stays on the waterline for 8+ hours without smudging. Black is too stark for most — brown is softer but still intense.
How to tightline: Lift your upper lid with your non-dominant hand. Gently wiggle the pencil into the upper waterline (the space between your lashes). Don’t press too hard — you’re depositing color, not drawing a line. For the lower waterline, pull your lower lid down and run the pencil along the inner rim. Do one pass, then smudge with a Q-tip for a lived-in look.
Failure mode: If you have watery eyes, set the pencil with a matching dark eyeshadow on a tiny angle brush. This locks the liner in place. I learned this trick after my liner melted off during a summer BBQ.
Step 5: Curl Lashes and Apply Mascara — The Final Lift
You’ve done all the hard work. Don’t ruin it with clumpy lashes.
How to Curl Without Pinching
Heat your lash curler with a blow dryer for 3 seconds. Test the temperature on your wrist — it should be warm, not hot. Clamp at the base of your lashes, hold for 10 seconds, then release. Repeat at the mid-lengths. I use the Shu Uemura Eyelash Curler ($22) — it’s the only one that fits my eye shape without pinching.
Mascara That Holds the Curl
Waterproof formulas are non-negotiable. My pick: Maybelline New York Lash Sensational Sky High Waterproof Mascara ($10). The wand is curved and the formula is fiber-based, so it lengthens without weighing lashes down. Apply one coat to the top lashes only, wiggle the wand at the base, then pull through. For lower lashes, use the tip of the wand to coat just the tips — no spider legs.
Verdict: Skip the second coat on lower lashes. It always smudges. One coat on top, a light touch on bottom, and you’re done.
Why This Look Works for All-Day Wear — The Science Behind It
I’m not a chemist, but I’ve tested enough formulas to know what works. The key is layering textures: a creamy primer grips powder, matte shadows absorb oil, and waterproof pencils resist water. This combination creates a barrier that sweat and humidity can’t easily break.
The one product I’d never skip: a setting spray. After finishing your eye look, hold a setting spray (I use e.l.f. Cosmetics Matte Magic Mist & Set, $8) 8 inches from your face and mist in an X and T pattern. This melts the powders into the skin and locks everything in place. I’ve worn this look through 12-hour shifts, rain, and even a cry session at a movie. It holds.
Looking ahead, I’m excited to see more brands release eyeshadow singles in deeper, warmer tones specifically for olive and tan skin tones. The drugstore space is finally catching up. Until then, this 5-step routine with $50 total in products will give you the most reliable, sultry eye look you’ll ever master.