Most MAC eye tutorials are useless. They show you 12 steps with 8 brushes and a $300 product list. Then you try it at home and look like you got punched in the face.
Here’s what actually matters: three specific looks that work for real people. No fluff. No 45-minute blending sessions. Just the techniques that MAC artists use backstage, stripped down to what works.
The MAC Eyeshadow Formula You Need to Understand First
MAC makes 4 distinct eyeshadow finishes. Mixing them wrong is why your eye look fails.
| Finish | Texture | Best Use | Example Shade |
|---|---|---|---|
| Matte | Powdery, buildable | Crease, transition | Soft Brown |
| Satin | Slightly sheen | Lid, all-over wash | Satin Taupe |
| Frost | Shimmer, visible glitter | Center of lid, inner corner | Naked Lunch |
| Veluxe Pearl | Fine shimmer, smooth | Lid, highlight | Woodwinked |
Matte shades are the workhorses. They blend into nothing and create depth. Frost shades are the troublemakers — they look gorgeous in the pan but crease fast and emphasize texture. Use them sparingly.
Rule #1: Always start with a matte transition shade. Skip this step and your blending will look muddy.
Look 1: The 5-Minute Everyday MAC Eye
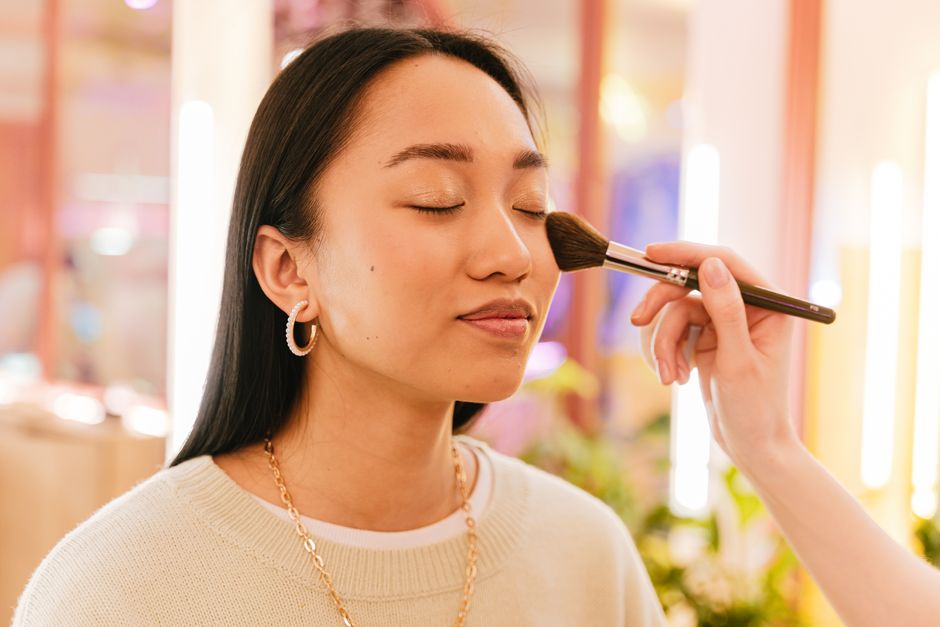
This is the look you can do before work. Takes 5 minutes. Uses 3 shades.
Step 1: Base
Apply MAC Paint Pot in Painterly ($24) all over the lid up to the brow bone. This is not optional. Shadows crease on bare skin within 2 hours. Painterly cancels out lid discoloration and gives shadow something to grip.
Step 2: Crease
Take a MAC 217S blending brush. Dip into MAC Soft Brown eyeshadow ($20). Tap off excess. Windshield-wiper motion in the crease only. 15 seconds total. That’s it.
Step 3: Lid
Flat shader brush (MAC 239S). Press MAC Satin Taupe onto the lid from lash line to crease. Don’t swirl. Press and release.
Step 4: Liner
MAC Teddy Eye Kohl ($22) on the upper lash line. Smudge with a pencil brush. Mascara on top lashes only.
Total time: 5 minutes. Total cost: $86 one-time for products that last 12+ months. This look works for hooded eyes, deep-set eyes, and monolids.
The Biggest Mistake People Make With MAC Shadows
You’re using too much product.
MAC shadows are highly pigmented. One dip loads enough for both eyes. Two dips gives you fallout on your cheeks and a look that reads “clown.”
Failure mode #1: Pressing the brush into the pan like you’re grinding pepper. Instead, tap the brush lightly. One tap. Then swirl on the back of your hand before applying.
Failure mode #2: Using the same brush for multiple shades without cleaning. A dirty brush transfers old color into your fresh shade. You get a muddy grey-brown mess. Get the MAC Brush Cleanser ($16) or use a microfiber cloth between colors.
Failure mode #3: Applying shadow on unprimed lids. The Paint Pot exists for a reason. Without it, your $20 shadow lasts 2 hours before creasing. With it, you get 10+ hours.
Look 2: The Smoky Eye That Doesn’t Make You Look Tired
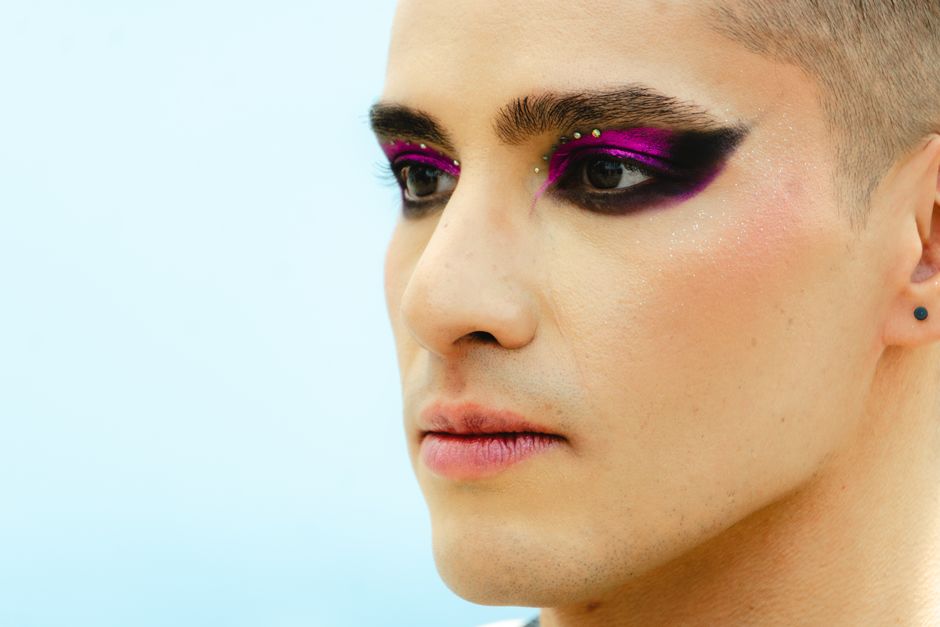
Most smoky eye tutorials create a black ring around your eye. That makes you look like you haven’t slept in 3 days. Here’s the fix.
Use a deep brown instead of black. MAC Carbon is pure black and it’s too harsh for most people. MAC Sketch ($20) is a deep navy-black that reads as black but has dimension. MAC Brun is a matte chocolate brown that works for everyone.
The technique:
- Apply MAC Paint Pot in Groundwork ($24) as your base. It’s a warm brown cream shadow that creates a built-in transition.
- Pack MAC Brun into the outer V with a MAC 219 pencil brush.
- Blend outward with a clean 217S. No additional product.
- Press MAC Woodwinked onto the center of the lid. The gold shimmer catches light and prevents the dark shades from making your eyes look smaller.
- Line the upper waterline with MAC Costa Riche eye kohl ($22). Not the lower waterline. Lower waterline liner closes the eye down.
This look takes 8 minutes. It photographs well. It works for blue, green, brown, and hazel eyes.
Look 3: The One-Shade-Only MAC Eye (for when you’re late)
You need one shade that does the work of three. MAC All That Glitters ($20) is that shade. It’s a champagne-gold with subtle shimmer that reflects light evenly. It doesn’t emphasize texture the way frost shades do.
Apply it with your ring finger. One swipe across the lid. Blend the edges with a clean finger. That’s the entire eye look. Add mascara. Go.
This works because All That Glitters has enough pigment to show up on fair to medium skin tones. If you’re deeper than NC42, use MAC Amber Lights instead — it’s a warmer gold with more pigment density.
When to skip this look: If you have very oily lids, the shimmer will migrate into your crease within 3 hours. Use a Paint Pot base even for this quick look.
Which MAC Brushes You Actually Need
You don’t need the full set. MAC sells 40+ brushes. You need 3.
MAC 217S Blending Brush ($32) — The most important brush MAC makes. It’s tapered, fluffy, and blends shadow without depositing too much pigment. Use it for crease work, transition shades, and softening edges.
MAC 239S Flat Shader Brush ($30) — For packing color onto the lid. The synthetic bristles don’t absorb product, so more pigment goes on your eye instead of staying in the brush.
MAC 219S Pencil Brush ($29) — For the outer V, lower lash line, and precise placement. This is what keeps your smoky eye from looking like a bruise.
Total brush cost: $91. These three brushes will do everything you need. The rest are nice-to-haves, not must-haves.
One final fact: MAC shadows are $20 each. A Paint Pot is $24. Brushes are $29-$32. The total investment for the 5-minute everyday look is about $175 upfront. Those products last 12-18 months with daily use. That’s under 50 cents per wear.